By default the opt-in form asks only for an email address. Collect First Name adds a first name field to the form on every squeeze page, so your autoresponder can greet new subscribers by name.
Where to find it:

Free List Building, then the Settings tab, General Settings, the Collect First Name row. Tick "Enable first name field on opt-in forms".
What it does:
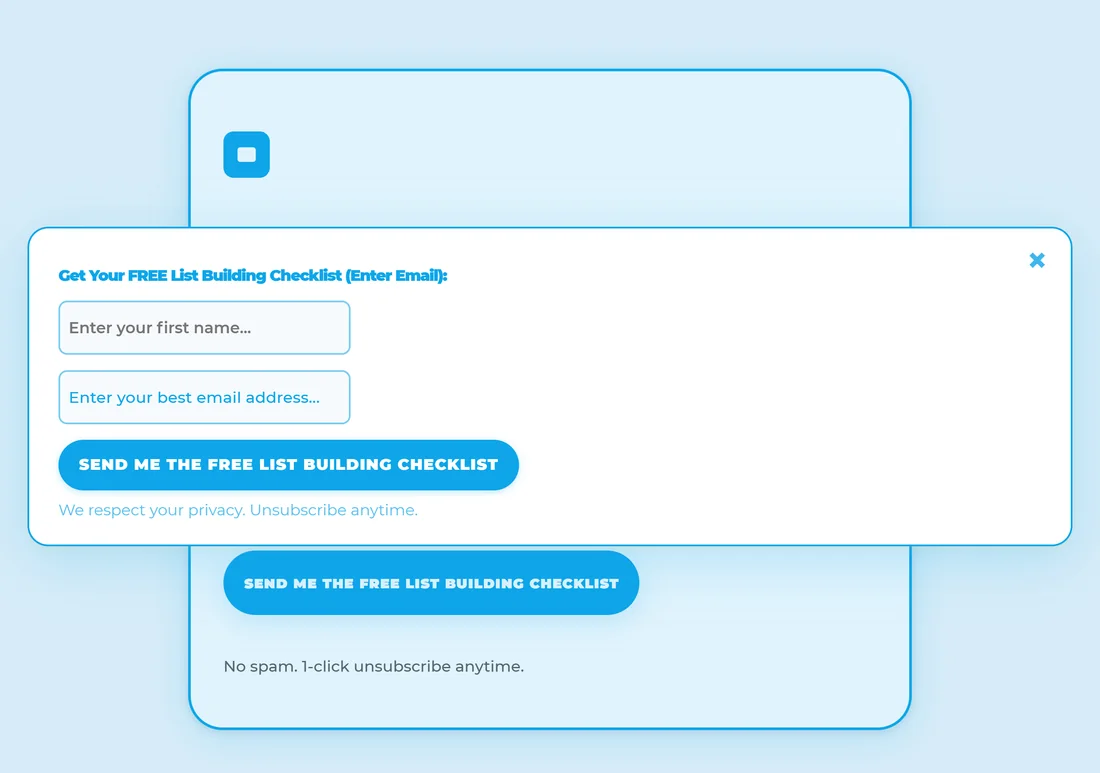
- Adds a first name field above the email field on all squeeze page opt-in forms, across all funnels and templates.
- Sends the name to your autoresponder with the email address, for providers that take a name.
- Stores the name in Collected Emails on the Lists tab and in the Name column of Export CSV.
When to use it:
- Turn it on if your welcome emails use the subscriber's name, for example "Hi Olivia".
- Leave it off if you want the shortest possible form. One field means a little less to fill in.
Step by step:
- Open Settings and find Collect First Name.
- Tick "Enable first name field on opt-in forms".
- Click Save Settings.
- Open a squeeze page and click the opt-in button. The form now shows "Enter your first name..." above the email box.
- In your autoresponder, add the first name to your welcome email, for example with Mailchimp's first name merge tag.
A real example:
Sam turns on Collect First Name for yoursite.com. The opt-in popup on the Email List Building Checklist now asks for a first name and an email. Olivia signs up, Mailchimp receives her name, and her welcome email opens with "Hi Olivia". On the Lists tab her row shows Olivia in the Name column.
Tips:
- Some visitors leave the name blank. Give your welcome email a fallback such as "Hi there" so it still reads well.
- Forms you paste with the Custom HTML Form option keep their own fields. Add a name field to your pasted form if you want one (see Custom HTML Form).
- See Collected Emails for where the names appear.